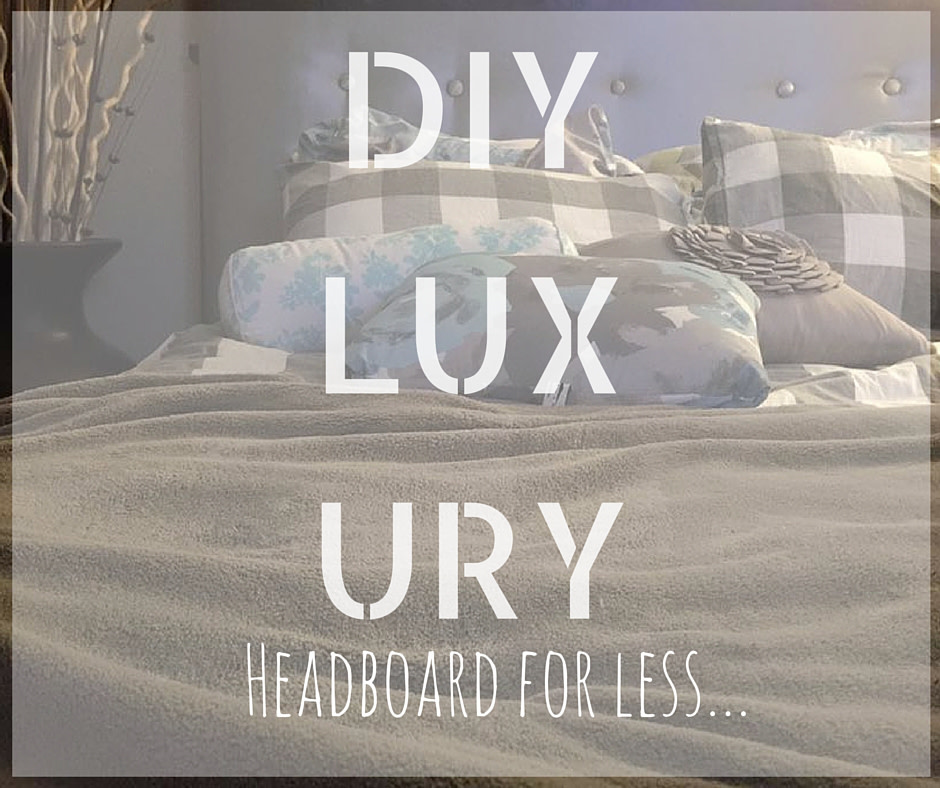
Refreshing your apartment bedroom doesn’t mean you have to spend your next rent check on a new bedroom set. This is a fabulous $400 look for only $26 and plenty of elbow grease. Ever since I upgraded to Camden’s technology package, I have been watching marathons of home remodels designed by the “Property Brothers” and “Fixer Upper” from HGTV. Needless to say, I got 3 projects done on my free time and this DIY tufted headboard was my favorite.
I ended up selling my outdated queen headboard and frame and replacing it with this $26 DIY Headboard. Also, knowing how easy this was to create, I can now customize my headboard anytime I want! It’s a much anticipated luxury makeover for my ocean-themed (hues: silvers, blues, lavender, coral white) bedroom!
Materials you’ll need:
Poster boards ( 6 total with each at 20 x 30 in )Found them at $1 each at the local Dollar Tree
Yardstick ( 1 )Found one at Wal-Mart for less than $2
Superglue sticks
Superglue gunBe sure to have an oven mitt ready or you’ll burn a finger like I did!
Ball cover buttonsI bought enough to place 14 buttons in three different rows (5 x 4 x 5 pattern)
Packing tape
Quilt batting ( 2 )Found these at Wal-Mart for less than $9 each
Material to cover your headboard (2 – 3 yards)I found a great satin gray material that matched my comforter and pillows
Needle and thread
3M Large Command Strips (3 – 4 pairs)
Iron

Tips:
Before you start, have a large surface to work on. I cleared my dining room table and it worked perfectly!
Your workspace should have easy access to a power outlet for your glue gun.
Absolutely iron your material before securing this on your wall!
Plan out how many buttons you’ll need and the pattern you’ll follow.
Use an oven mitt to press down the material after using the hot glue gun.
Watch the video first!
Summary of Steps: Now let’s get to it!
The first step is to watch this tutorial from Alexa Katherine. I skimmed through at first and spent over an hour on the ball cover buttons. My thumbs were so sore! Then I watched the tutorial again and had an “aha” moment.
Now that you’ve got the gist of it, start assembling your poster boards. I superglued a pair of them together to provide more strength and thickness. It was well worth it in the end. Then I taped the three pairs together along the tall edge. Since I had a queen bed, I did not need to make additional cuts like it mentioned on the tutorial. (Measurements are provided on the tutorial.)
Spread out your first layer of quilt batting over the poster boards and measure a 4 inch border all around. Cut off the excess. Pull each side taut before supergluing the batting onto the back of the poster board. Repeat for the second layer of quilt batting.
Spread your material over the poster board and again, measure a 4 inch border all around. Cut off the excess. Pull the material tight and superglue it down onto the back of the poster board.
Iron out the material at this point.
Now work on getting the fabric onto the buttons. The trick is to use the template provided on the back of the product and cutting out several pieces ahead of time. Once the material has been cut, apply it over the button and ensure that the teeth have caught onto it to prevent the material from coming loose. Use the backing to click and lock the material into place.
Use a thread and needle to sew the buttons onto the headboard. Be sure to pull tight! This creates that tufted look.
In order to hang this on the wall, I cut out pieces of cardboard and superglued it on each corner of my new headboard. Why is this important? It is where I taped each 3M Command Strip to secure it safely on my apartment wall. It’s the perfect invention to ensure I don’t damage my bedroom walls.
With that said, I am IN LOVE with this new luxury look. Since I chose a fabric with a sheen to it, it really added dimension to my wall, especially since my apartment has flat wall paint – meaning it has a matte finish.
This was a great luxury look for less and am certain I will be customizing my headboard to match my future Spring,Summer, Fall and Winter bedroom makeovers!
What other luxury looks should I try next? Add your thoughts in the comments below.
Cheers,
Wena
Let's be longtime friends—subscribe today!


